Setting Up and Pairing Thermostats & Wiring Centres

Designed to Make Installation Easy
Every IMI Heatmiser product - from wired neoStat thermostats to wireless neoAir models and the neoHub - has been built to make installation and pairing as simple and consistent as possible.
We’ve refined our setup process so you can commission systems quickly, with clear feedback and minimal setup time on-site. Whether working on underfloor heating, radiators, or hybrid systems, you’ll find a method that fits your installation style. We’ve created clear, accessible tools to help you find exactly what you need.
For product manuals, wiring guides, and data sheets in one place follow the link, or watch our simple How-to session videos below.
How-to-Sessions
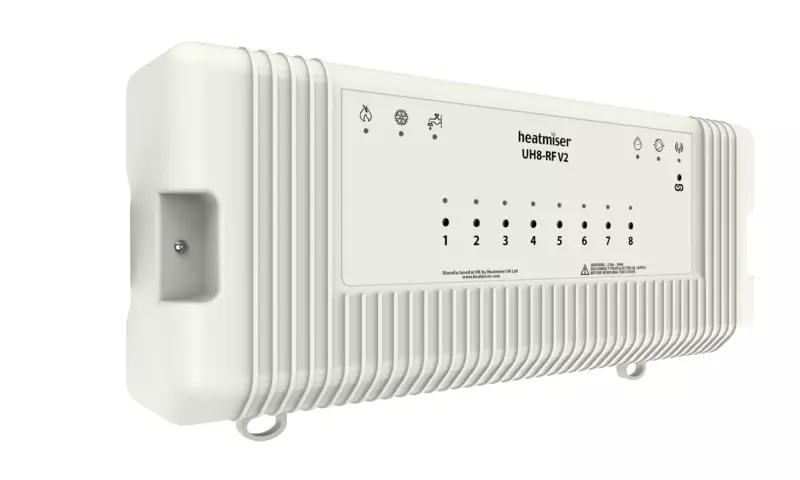
Wiring and Pairing IMI Heatmiser Wiring Centres
Our multi-zone wiring centres have been designed to simplify the wiring process. Using our wiring centres in your application means that the actuator, boiler and pump connections are wired from a single point. Follow our video guides to wiring and pairing below:
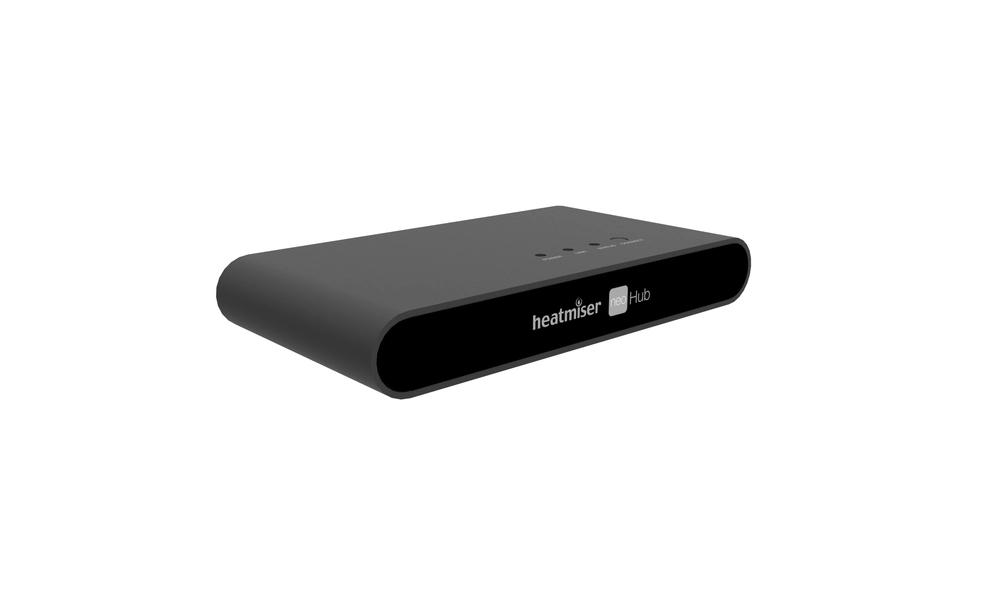
Pairing the IMI Heatmiser RF Switch
The Heatmiser RF Switch v2 is our wireless thermostat receiver. It can cater for a 2 heating zones and the hot water cylinder. Output indications are provided and the unit is surface mount for easy installation.
In addition, the RF Switch v2 can act as a wireless boiler enable link from the UH8-RF v2 8 Zone Wiring Wiring Centre. Follow the appropriate video guide for your thermostat below:

Can't find what you need? Try using our manual and data sheet finder for more detail.
For the perfect installation, view our range of product solutions.